
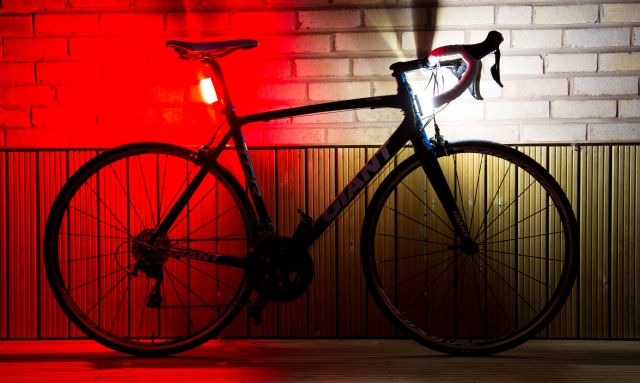
Orfos Flares are some of the brightest bike lights I’ve owned, if you want to be visible whilst riding in the dark these are the lights for you.
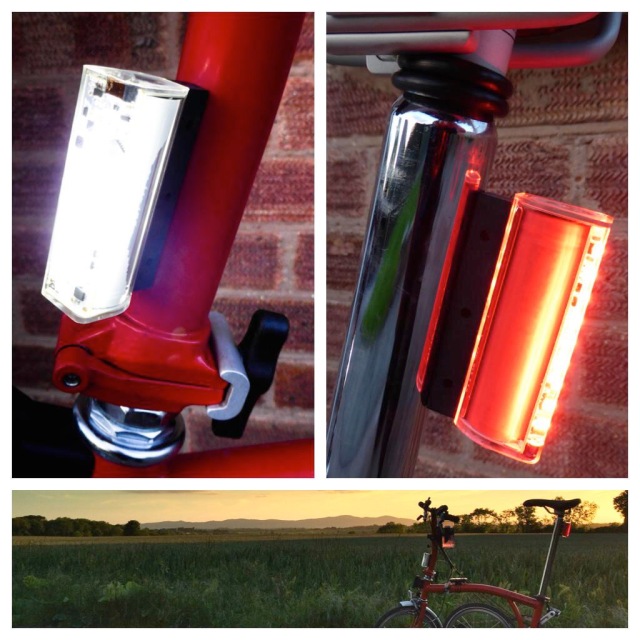
They are made up of half watt Light Emitting Diodes (LEDs) encased in a clear reflective fully waterproof housing providing 360 degrees visibility. It has a single press button that controls the three functions (On/Off, Mode Selection and Brightness).
Specifications: –
- Modes – Solid, Pulse, Flash and Strobe
- Size – 73.5mm x 23.5mm x 28.5mm
- Lumens* – Red 500 / White 300
- Rechargeable – Yes, via Micro USB (cable supplied)
- Battery Life – 24 hours on LOW / 90 Minutes on FULL
- Mounting System – Magnet and Cable Ties
- Weight** – Red 86g / White 81g / Magnet (mount) 107g
- Waterproof – Yes 100%
- Price – $119 each or $229 for a pair with 4 mounts
I initially saw these flares on KickStarter and immediately backed the project, my pair of flares were some of the first to arrive in Europe in March 2015, so I’ve been using them for the last six months now.

The mounting system is simple and fuss free, it’s essentially an extremely strong magnet attached to the bike with three cable ties. This system means there’s no more fumbling with clips and brackets to release the lights especially in gloved hands and is brilliant for transferring the lights between bikes.
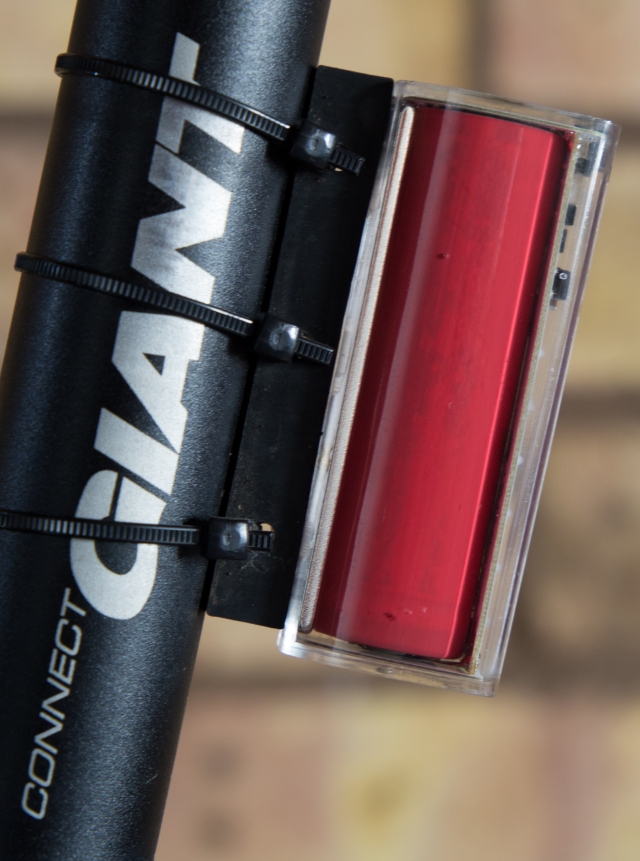
For steel frames there is no need to use the cable ties, I’ve found this to be extremely useful on my Brompton, the entire mount is removable so it does not impede the folding process like most other mounting systems.
They need to be mounted vertically as this ensures the best magnetic holding strength, in the horizontal position the mounts are very susceptible to impact shocks and the flare can easily become detached. When mounted vertically this will not be an issue for you, I’ve fitted them to my mountain bike and rode a few local trails with jumps and they didn’t move at all.
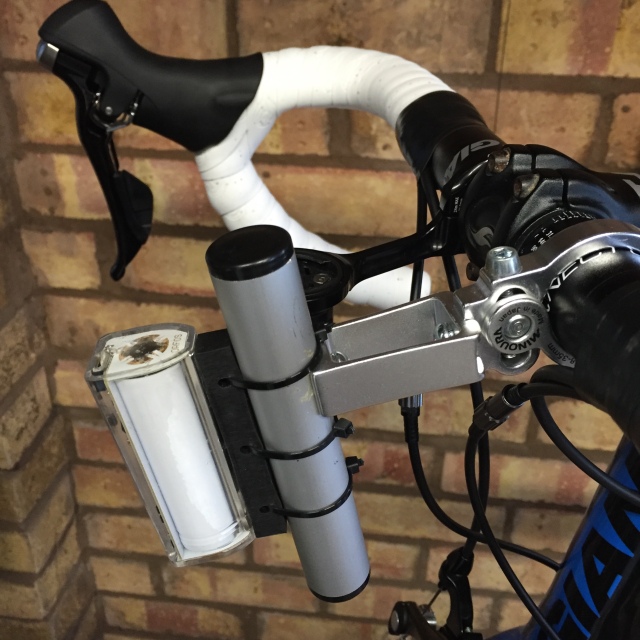
However, it does restrict where you can mount the flares. The manual does not specify a preferred mounting position, although with the vertical mounting requirement the only real feasible position for the front flare is the head tube. Like most bikes my head tube isn’t perpendicular to the ground and leans back at an angle of 74 degrees. This results in the flare being angled up too much and even on the low setting I’ve had several cars flash me, this means they can definitely see me but I am probably dazzling them.
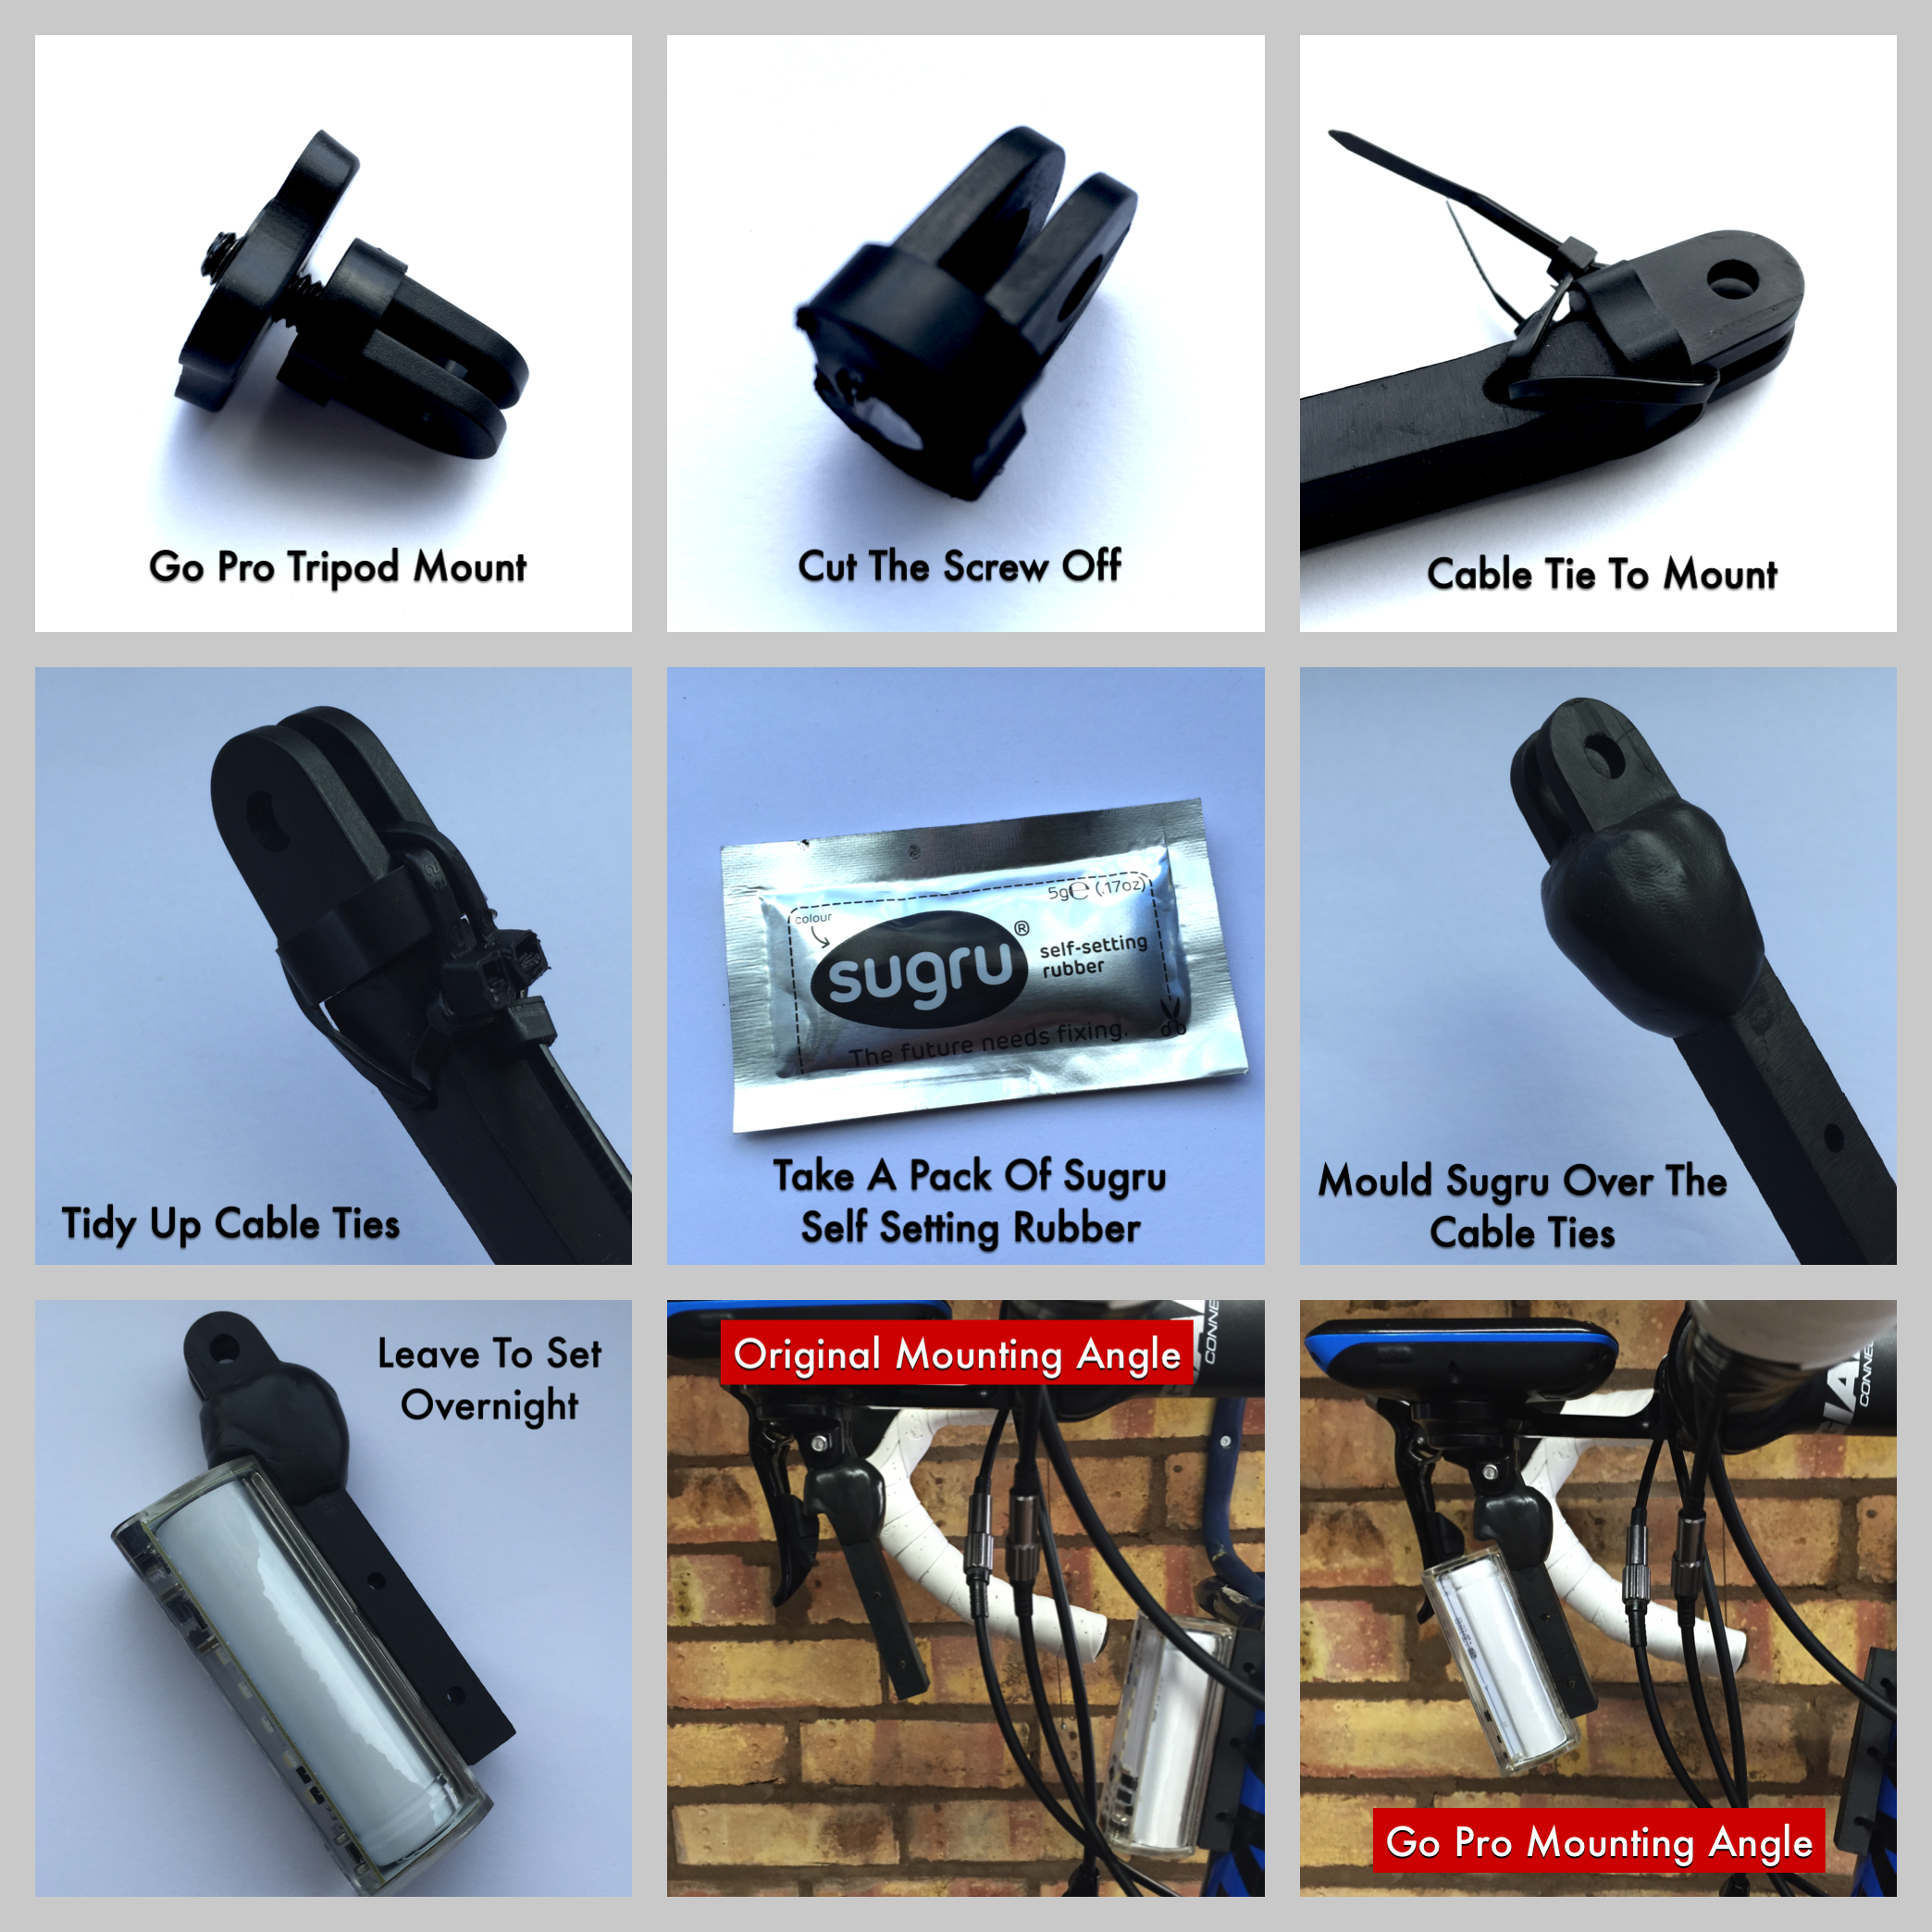
There needs to be some way of dipping the beam as without it I’m reluctant to ride dazzling on coming traffic. My current solution is to use a cheap bar extender rotated through ninety degrees, I don’t like the look of it but it works. I’m thinking of gluing a Go Pro mount to the top of the magnet so that I can attach it to a K-Edge handle bar mount instead. I’ll post a follow-up if I do this! It would be good if Orfos could look into some form of official bar mount as an optional accessory.
The single button makes them very easy to use, the first press turns them on, subsequent quick presses cycle through the modes (Solid, Pulse, Flash and Strobe) pressing for half a second cycles through the brightness settings (Low, Medium and High) and to turn off you press and hold for three seconds.
Although, a disadvantage of this single button process is that I have found that I often end up changing modes by accident when trying to lower the brightness settings, which can be a little frustrating at times as you have to cycle through them to get back to the mode you want.
Recharging is as simple as connecting the supplied Micro USB cable to any powered USB port, making it remarkably easy to charge, no need for separate chargers. Just ninety minutes can give you a whole day of light on the low setting. When the battery needs recharging the flare will switch to low power mode, this is a slow flash on the lowest brightest setting and will give you thirty minutes of light before switching off.
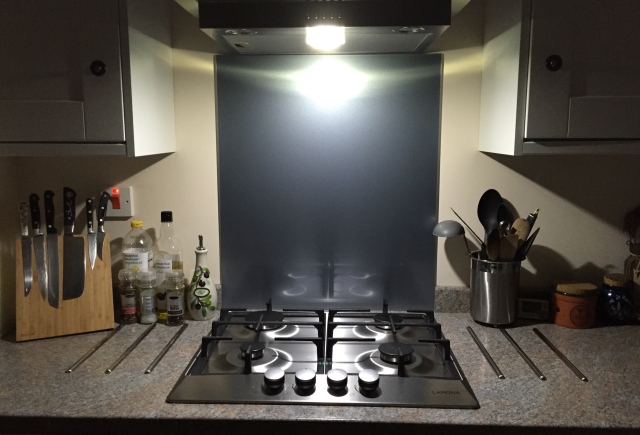
The white front flare gives off enough illumination that it can easily light up a small room, as seen in the picture below of my kitchen, the only light source is the Flare magnetically attached to the metal cooker hood. Whilst I haven’t been camping since a child I can see that this would make an excellent tent light or for other activities such as fell walking where an all round light is required. The magnetic mounting system also means that you can easily attach it to fabric by putting the magnet one side and the flare the other.
Overall they are an exceptional set of lights, they are expensive but worth it, especially when you think of the all round visibility they give you (please do take a look at the two videos above to see the lights in action). I deliberately took the photos and videos from the side to show the level of visibility, how many other lights have you seen that can do that?
I am extremely happy with them and would recommend them every time.
Hopefully this review has made you think about your lighting needs now that the nights (in the UK at least) are getting longer. Please be safe and be seen.
Orfos flares are available direct from the manufacturers website
* Lumen – is the SI unit of measurement for the brightness of luminous flux (light) which is roughly equivalent to the amount of light/strength of a single candle flame.
** Weight – Figures stated are my measurements, manufacture website states 90g
UPDATE – 16th October 2015
I made the new mount for the front flare by joining a go pro tripod adapter to the top of the supplied Orfos magnet with cable ties and Sugru to make a secure and durable connection. It withstands vibrations whilst out on the road and is strong enough that you can still pull the flare off the magnet. Total cost of the mount about £4 in parts and 30 minutes to put to together.
UPDATE 2nd March 2016
Following up on a comment from Rob, the video below shows the rear flare on pulse in the daylight. It is difficult to get an accurate representation of the light during the day as the camera exposure settings make the flare look dimmer than it actually is.
To further help gauge the brightest of the flare during the day, the video below is a selection of common rear lights (all with new batteries) from left to right Cateye TL-LD130/150, Camden Gear XML T-6, Orfos Flare, Lezyne Femto and Cateye TL-LD260

I ride in the daylight hours and for safety reasons I am looking for bright lights so I will be seen better by motorists. How well do the Orfos Flares, front and rear, show up in the daytime. Do you have video of the lights in the daytime?
LikeLike
Thanks for the question Rob. It’s an excellent point that should be included in the review. I don’t have any daytime footage of the flares, I will record a couple of clips and add to the post. However, I won’t be able to do this until later in the week.
I generally only use the rear flare during the day and it has good daytime visibility, in fact the manual states that the brightest settings are specifically for daytime use and should not be used at night.
LikeLike
Thank you for your rapid reply. I am most interested in seeing the strobe function that has the longest battery life front and rear.
LikeLike
Updated to include a couple of videos of the rear flare in daylight.
LikeLike
Thank you for the two new videos of the Orfos Flares. The light seams quite bright in the daylight. The Orfos Flare is certainly much brighter than the others in the comparison video.
LikeLike